
So easy to make, they taste and look fab!
I love to make gifts for Christmas, things always mean more when they come from the heart. I have especially grown a fondness for this type of gift since Reuben has developed an interest in baking. It is a great way to help children learn all sorts of things, from counting and measurements to motor skills when they are adding ingredients from one bowl to another.
So of course when a friend suggested I should make some stained glass Christmas decoration cookies with him I jumped at the chance to give it a go!
What you will need:
- 3 cups of flour
- 3/4 tsp baking powder
- 3/4 tsp salt
- 1 cup butter
- 1 1/4 cups sugar
- 2 eggs plus 2 egg yolks
- 2 tsp vanilla extract
- 1 bag of hard candy
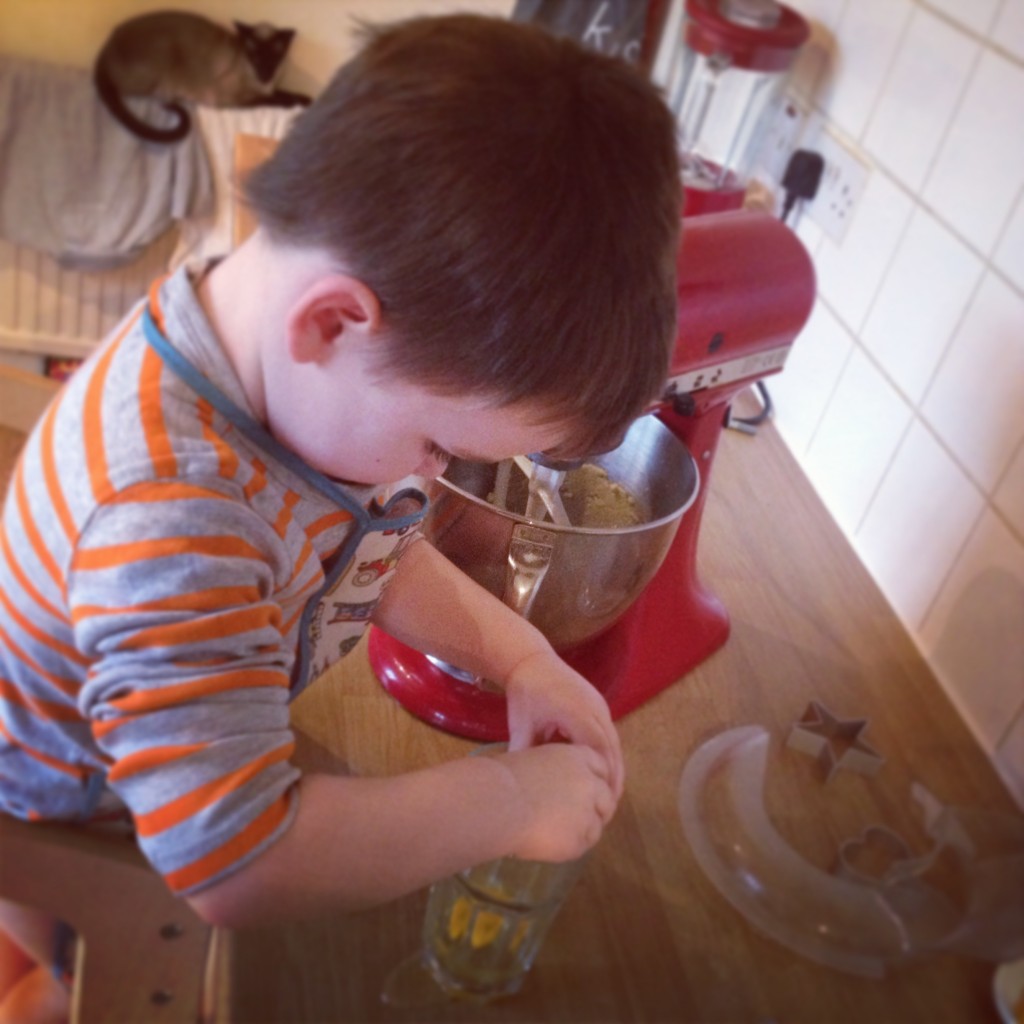
First, pre-heat the oven to 350C degrees/gas mark 4. Then mix the butter and sugar together until pale and fluffy. (If you are using an electric mixer then I know I don’t have to tell you to be really careful of those little fingers, but I’m going to anyway!!) Add the two eggs and a tablespoon of flour to stop the mixture from splitting. Then add the two egg yolks and mix until smooth. Finally, add the rest of the flour, baking powder, vanilla extract and salt and mix until you get a crumbly dough.
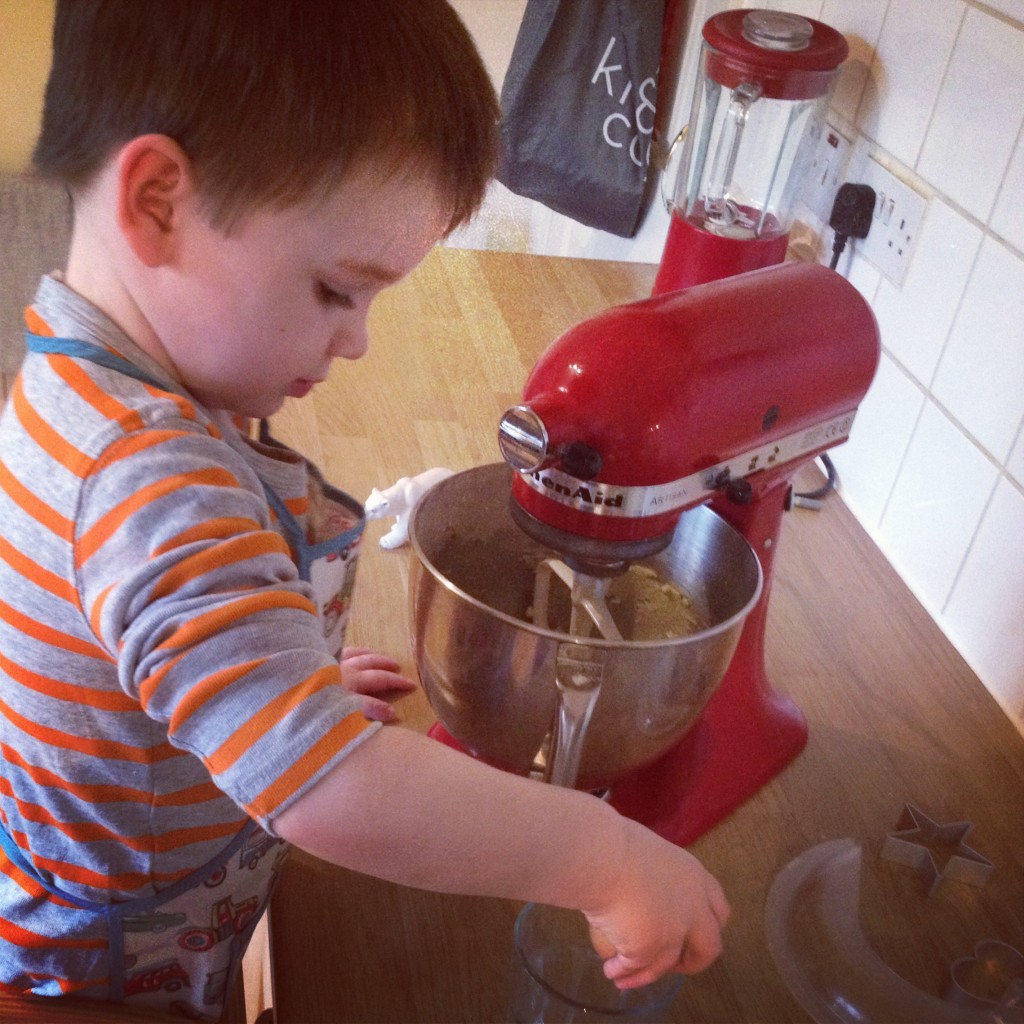
Mixing up all the ingredients is great for kids, it encourages all sorts of important skills.
Cracking eggs… we went through quite a few!
At this point I would recommend splitting the dough into two balls, depending on how many cookies you are wanting to make at once as this recipe makes 36 reasonably large cookies. Either way, pop the dough into the fridge for 10-15 mins to rest while you get on with the next bit.
Take the hard candies and group into colours, then (and Reuben loved this bit) place each colourway of candies into a bag and beat with a rolling pin until broken up roughly.
Take the dough out of the fridge and cut using whatever cutters you like, making sure that there is always a hole in the middle. For a christmas tree it is really nice to cut 2 little circles as they look like little baubles instead of a smaller Christmas tree!
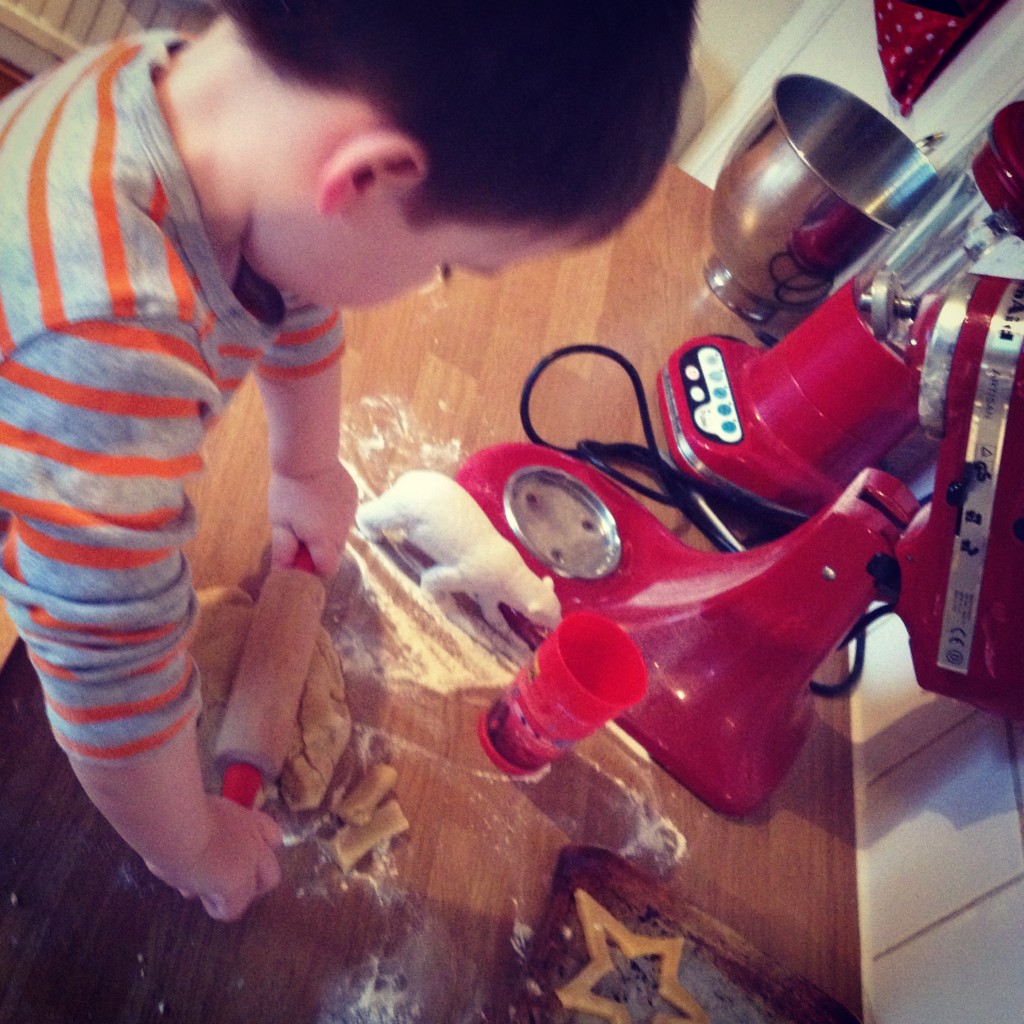
All sorts of cutters can be used for these, we even broke out the old faithful train cutter which became the ‘polar express’!
At this point, place the biscuits (no candies yet) in the oven at bake for 8-10 mins. Take the biscuits out, add the crushed up hard candies to the hole in the biscuits, I would recommend doing it yourself or with a tea towel over the side of the pan so no little fingers can get burnt. If you want to get a bit more creative or you have an older child then I think its a great idea to use a mixture of colours in the centre, placing some on one side of the gap and a different colour on the other.
Pop the cookies back in the oven for 3-4 mins. Allow them to cool on the tray, you won’t be able to budge them until they are 100% cold.
I hope you give this a go, it makes such a lovely gift for grandparents or aunts and uncles, but even if your just give it a go for fun in the afternoon to use to decorate your tree!
Harriet x


