
Beautiful roses transformed using basic such a basic experiment! Image taken from pinterest.
Did you do this as a child? I’m pretty sure I remember giving it a go at school when I as little and being totally in awe of how the flower changed colour… I mean, come on, it’s pretty cool – especially when you are 3 years old.
Since it’s creeping up to Valentine’s Day I thought I would give this a go with the boys (more Reuben to be honest) to see what they made of it. We talked a lot about the science side of the activity (or should I say experiment?) and Roo was captivated – he even took a good long time explaining to Daddy why the plant was changing colour! Too cute! If you do do Valentine’s Day gifts for teachers, classmates, little friends, grandparents or whoever then these are perfect because you can be pretty sure they won’t come from anyone else!
::The science behind the experiment::
You don’t have to explain this to your child, but if you want to this is why the flower gets coloured petals: It’s done by the use of the transportation system of vascular plants. The xylem tubes of the roses stem suck up water and send it up the stem to the leaves and the petals of the flowers. When the stem is submerged in coloured water, it will pump the coloured water to the flower. From the petals the water is evaporated but the colour particles remain and the colours will be stored in the petals. As the outer layer of the petals of a white rose are transparent, it will show whatever colour it has been ‘fed’.
You will need:
- White roses (If you want to avoid roses at this time of year then you can use any other flower, just make sure it’s white.)
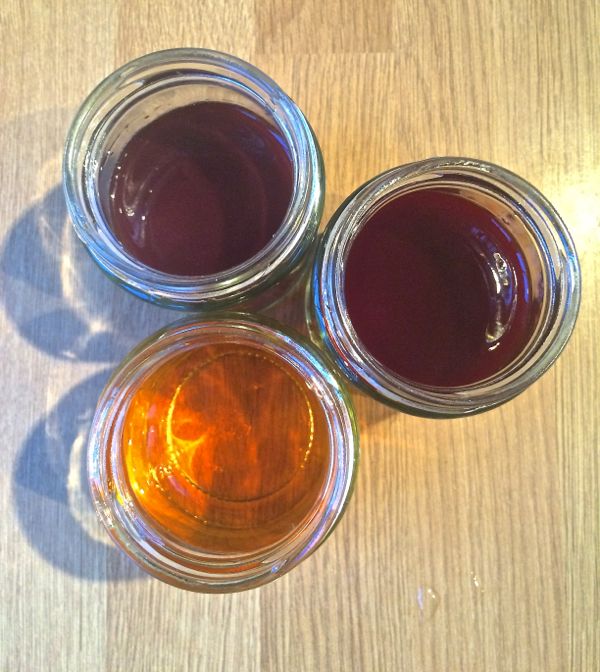
- Three/Four different food colourings – we used green, red, yellow but had no blue so skipped that out. You can use more of less colours, if you wanted to make a red and blue rose then just use two etc.
- Three/Four glasses or jars
- A sharp knife

The whiter the rose the better the flower will take on your colour. Also, a good strong stem is essential.
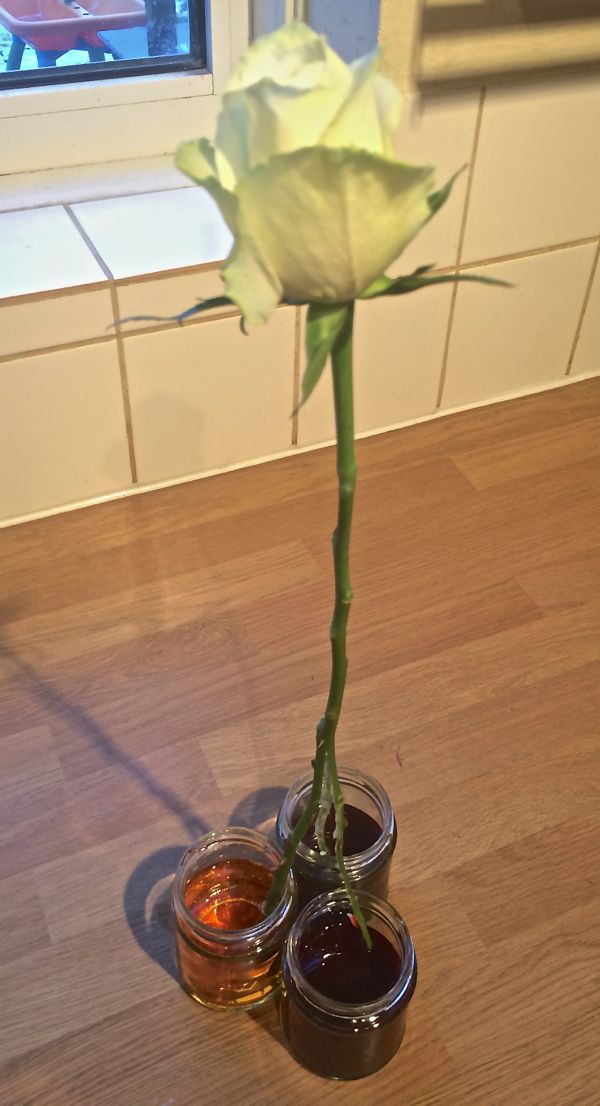
Take the leaves off your rose so it is just stem and flower. You do need quite a long stem if you are going to do four food colours, however if you are doing less you might not need so much. Go by your own judgement.
You need to add a good bit of food colouring for it to really take effect, don’t be scared to over do it!

I found this easiest with a paring knife, however you can use scissors if you would find that easier too.
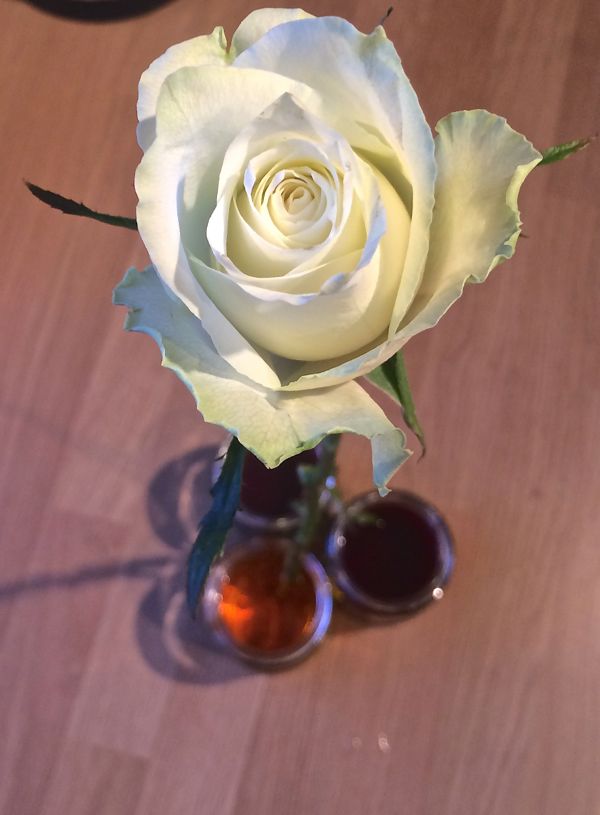
Placing your rose in the three/four jars and using something to help it balance will allow for the water to move up the plant and subsequently colour your petals!
If your flower won’t balance try deeper glasses or even resting it against something. You should begin to see the effects in a matter of hours!
CAREFULLY (probably best you do this bit) split the stem equally into three/four sections, so you essentially have four stems. Fill your glasses with water and add your food colouring, you want enough to turn the water totally opaque, so I used quite a bit in each. Put the stems into the glasses.
Within a matter of a few hours you will be able to see the colour coming into the tips of the roses, in some instances you can see if within a matter of 10-15minutes. To have the rose fully coloured though you need to wait overnight. We kept checking on our roses to see how far the colourings were moving and go over what was happening (again and again haha!) but when the boy’s went off to bed we told them that the roses would be ready to the next morning when they woke up. It was one of the first things that Roo wanted to check, and so sweet!
If you want to keep the roses around the house then you can bind the split stem with some florist’s tape and put them in a bouquet for someone. If not, you can do what we did which was to press them and dry them. This was done by clipping off the stem completely and putting the flower between two pieces of baking or parchment paper. You then put the flower between two heavy books (or a few heavy books) and leave it for a few days. Once it’s pressed flat you can either put it in the oven on 1/2GM to dry out, or leave it in a warm dry place.
This is an activity that you can do at anytime, it’s a bit of a lengthy one so it was more entertaining for Reuben that it was for Toby, so it’s worth giving it a go when you have other things to do and the kiddos don’t expect immediate results.
Enjoy!
Harriet x


Thank you for this fantastic info. The tips listed above are insightful and will help me a lot. The article is well written as well.