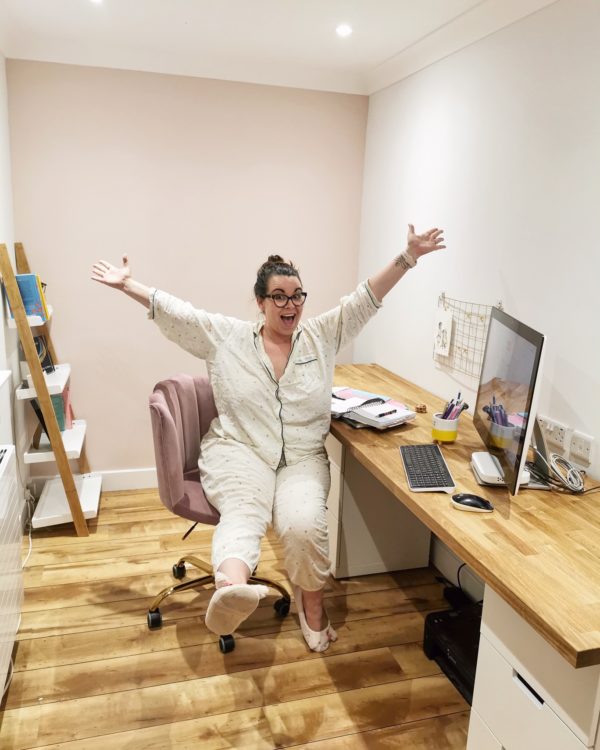
Ok, so if you don’t already know me and you have landed here via google or pinterest looking for an ikea desk hack, then welcome. I’m Harriet and I work from home, running my own business as a content creator (or wanky influencer – you choose the terminology). Those that do know me will know that an office, whilst only a small part of what I do, is HUGELY important to my job. For years I have had an office in my living room – with babies and toddlers running around I didn’t want to be shut away in an actual office, but rather with them so that we could be together whilst they watched TV or played with toys and I managed to sneak a bit of time on the computer.
It wasn’t awful, the kids (as they got older) understood that the corner in the living room was mummy’s space and that they had to keep off my desk, but it still isn’t ideal, especially when it comes to switching off on an evening. With that in mind, when we renovated the property, we made the decision to make sure I had a separate office space which I could design to get the best out of a working space for me. So that is what we did!
Anyway, the actual desk. I decided that I wanted a LONG desk, preferably the whole wall and corner, but the one wall ended up being enough and working out really well. I scoured the web trying to find the perfect office desk that I was looking for but I simply couldn’t find anything that I really loved – until I came across a pinterest pin that suggested making your own desk out of a wooden top top and a set of bed side tables, drawers or legs.
I was sold on the idea and quickly turned to IKEA to help me out. Here is how we created my desk.
You will need:
- Drill, screwdriver and a reasonable space to build.
- Wooden worktop – I went for this one, it’s called RASUNDA and is the most expensive but had the best reviews. *Since creating my desk, IKEA have launched more wooden worktops – because of course they bloody have. I paid: £200.
- 2-3 set of drawers/legs – depending on the style you choose. I went for three and I think it’s the perfect amount. If you’re choosing to use legs then the same principal will apply. I chose the NORDLI chest of 3 drawers. I paid: £85 x 3
- Total cost: £455
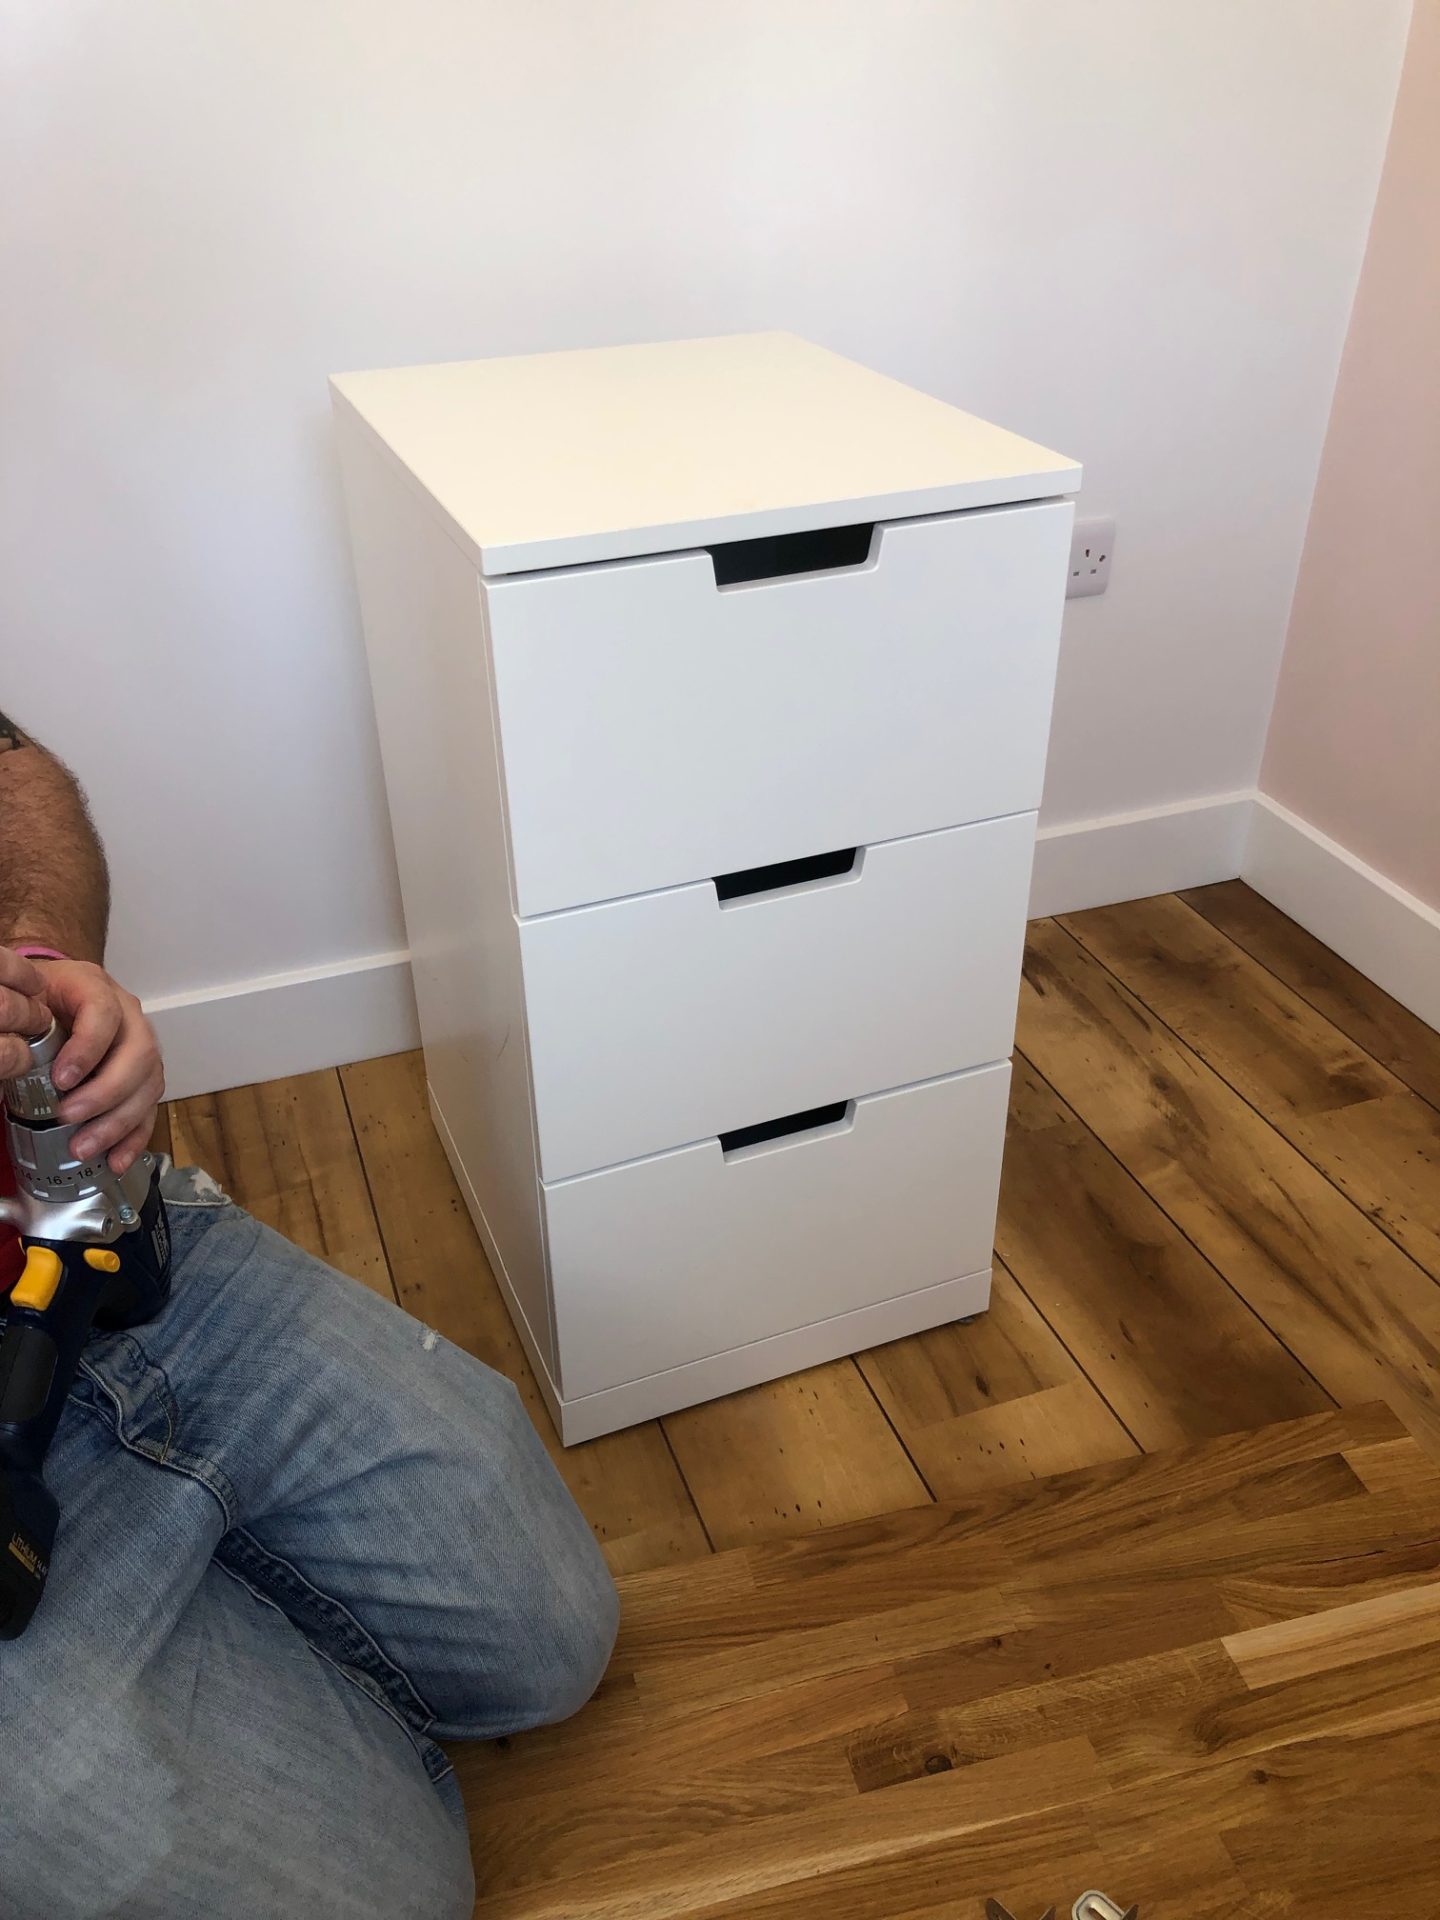
First you will need to build all of your drawers, this took the longest time. You can, for what it’s worth, pay someone from IKEA to come and build them for you, but honestly, I wouldn’t bother.
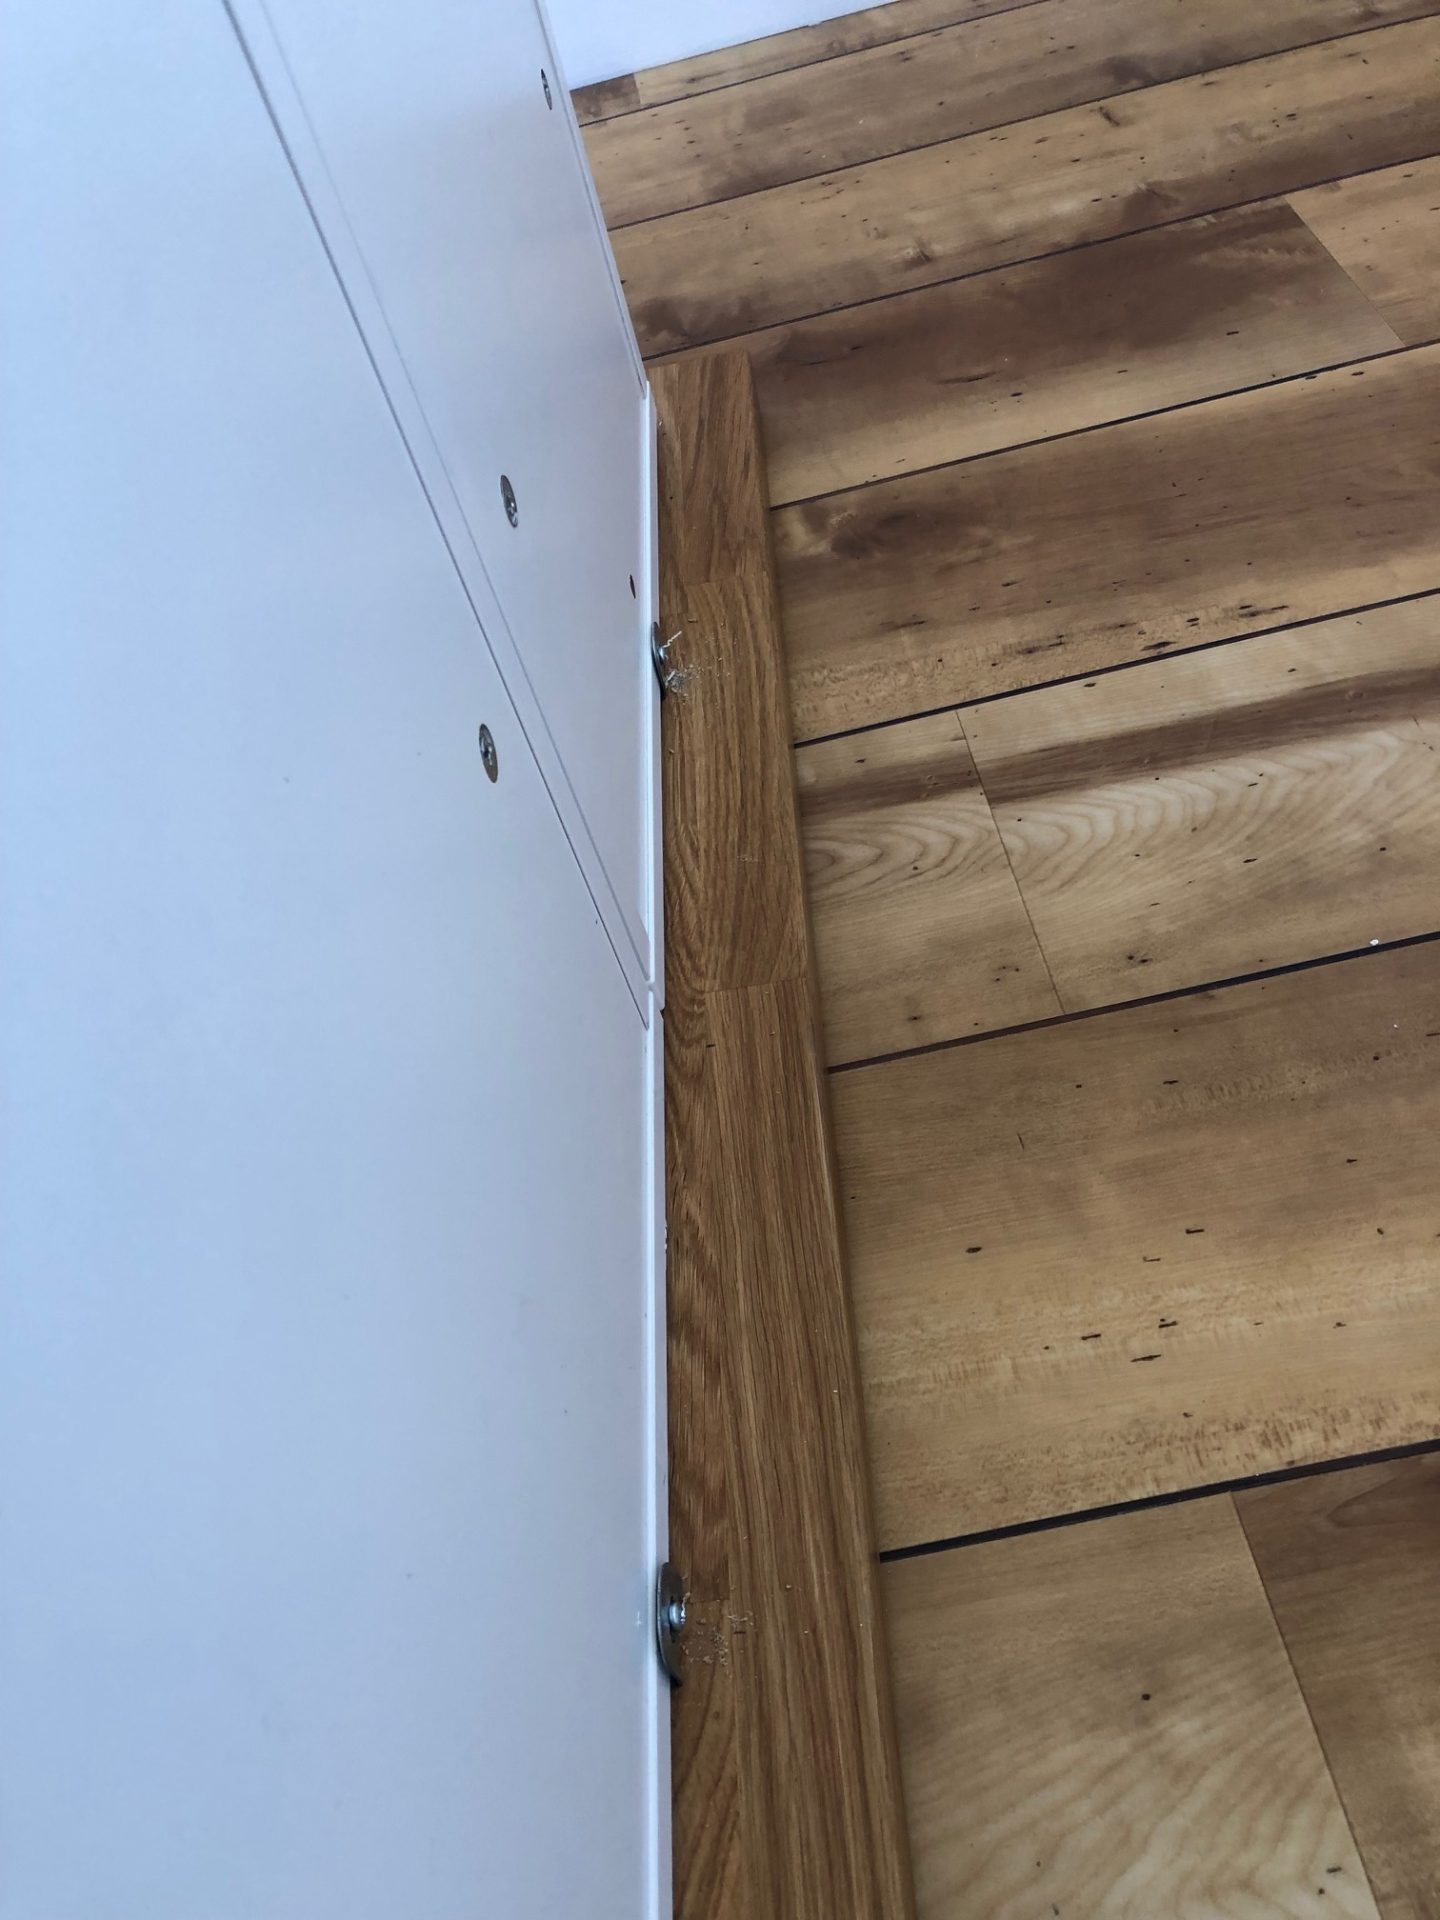
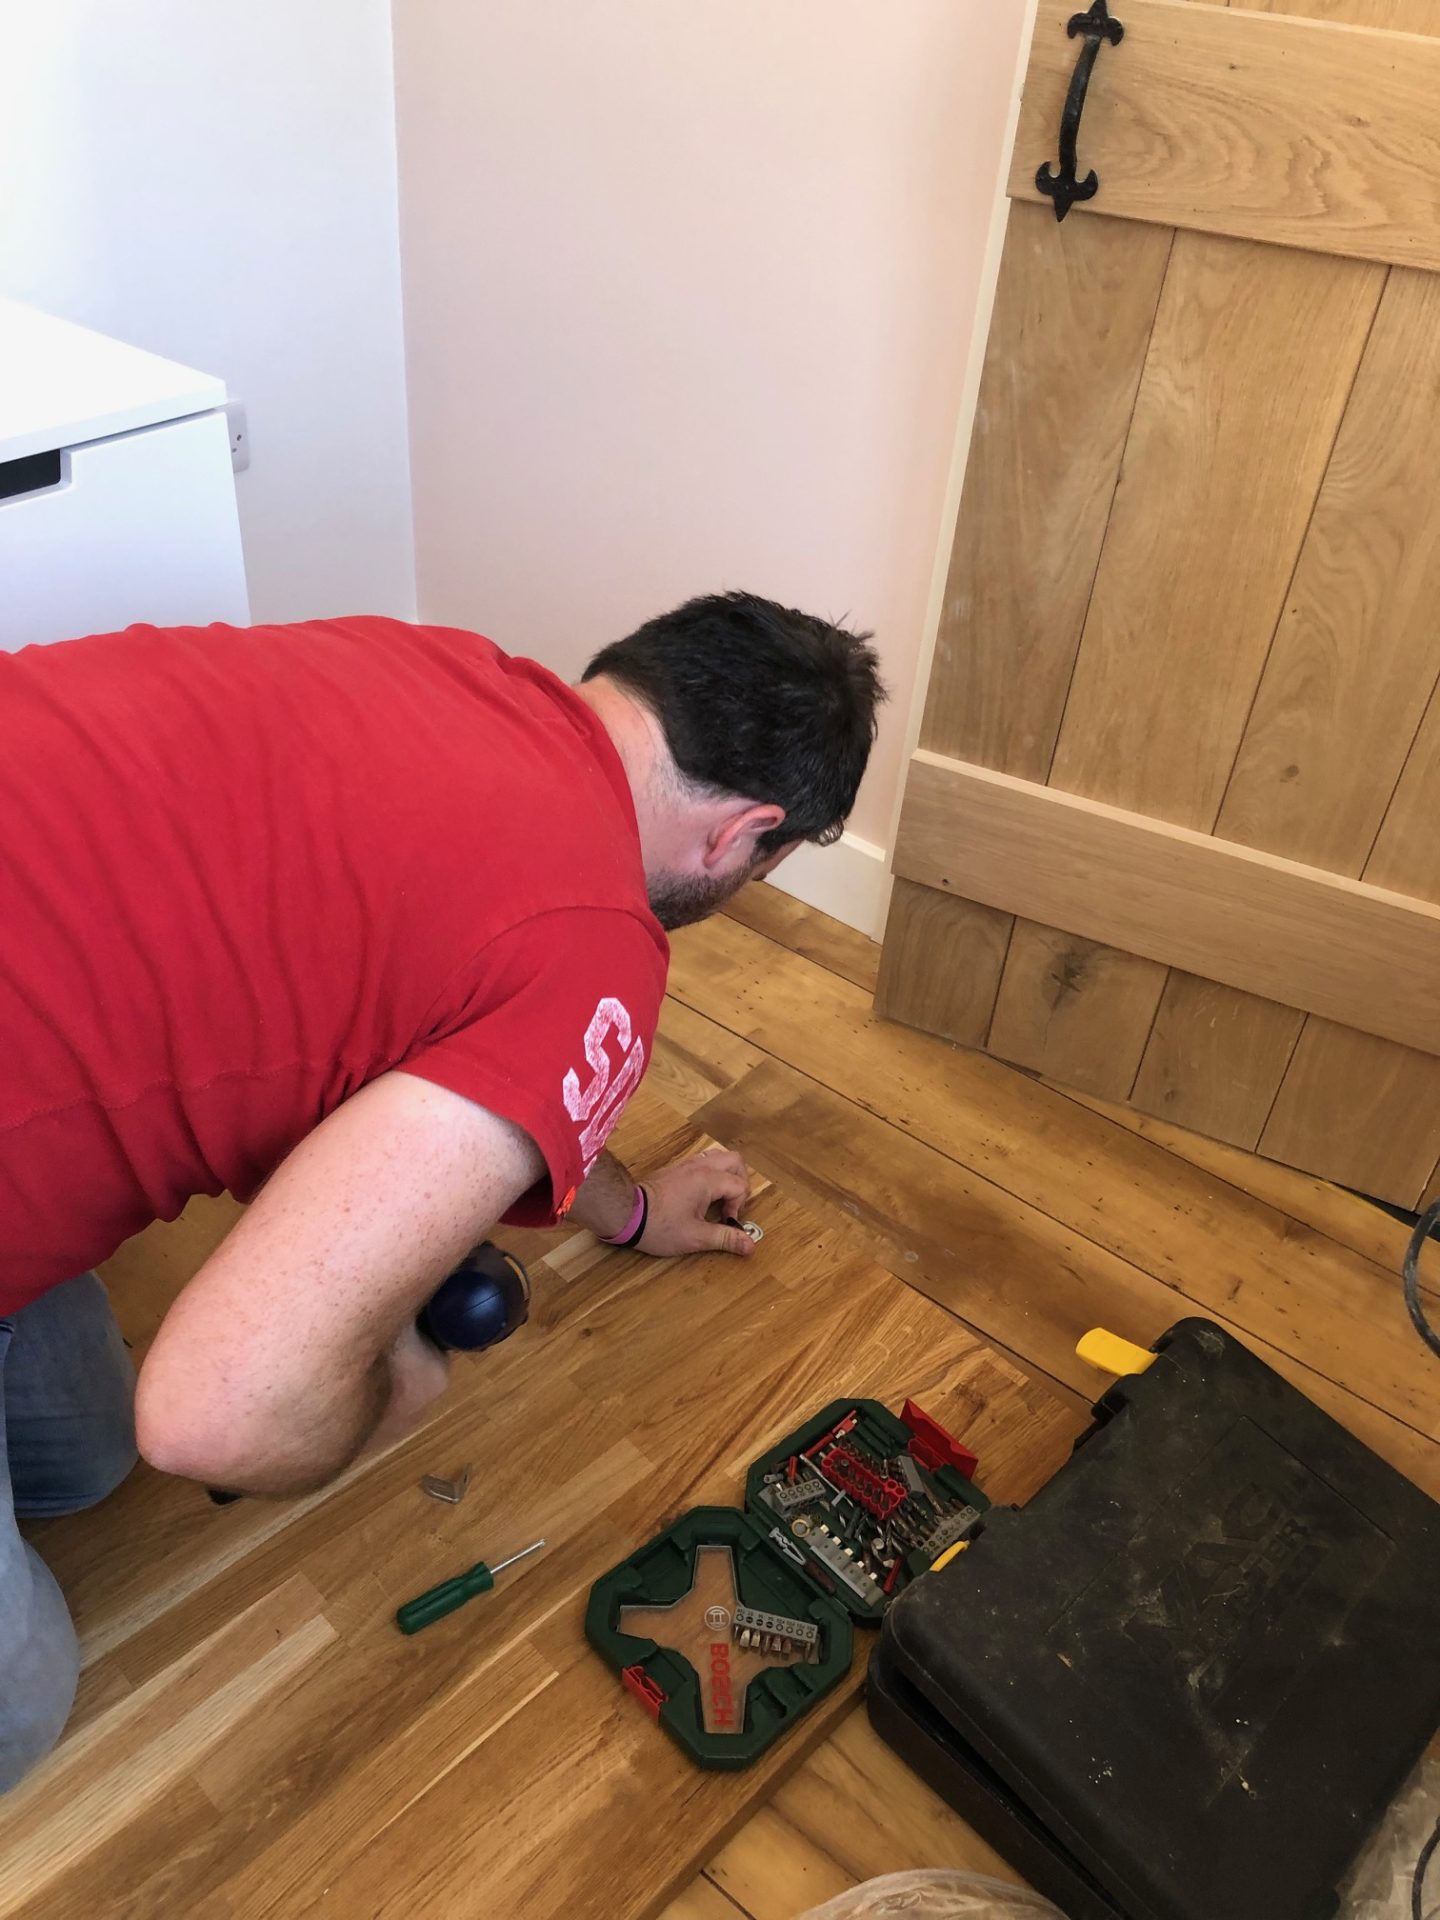
From there lie your wooden worktop flat. Place the draws on top and use a pencil to mark out a line where you plan to attach them to the drawers. IKEA send brackets for your worktop which is great, because it makes attaching it to the drawers so easy.
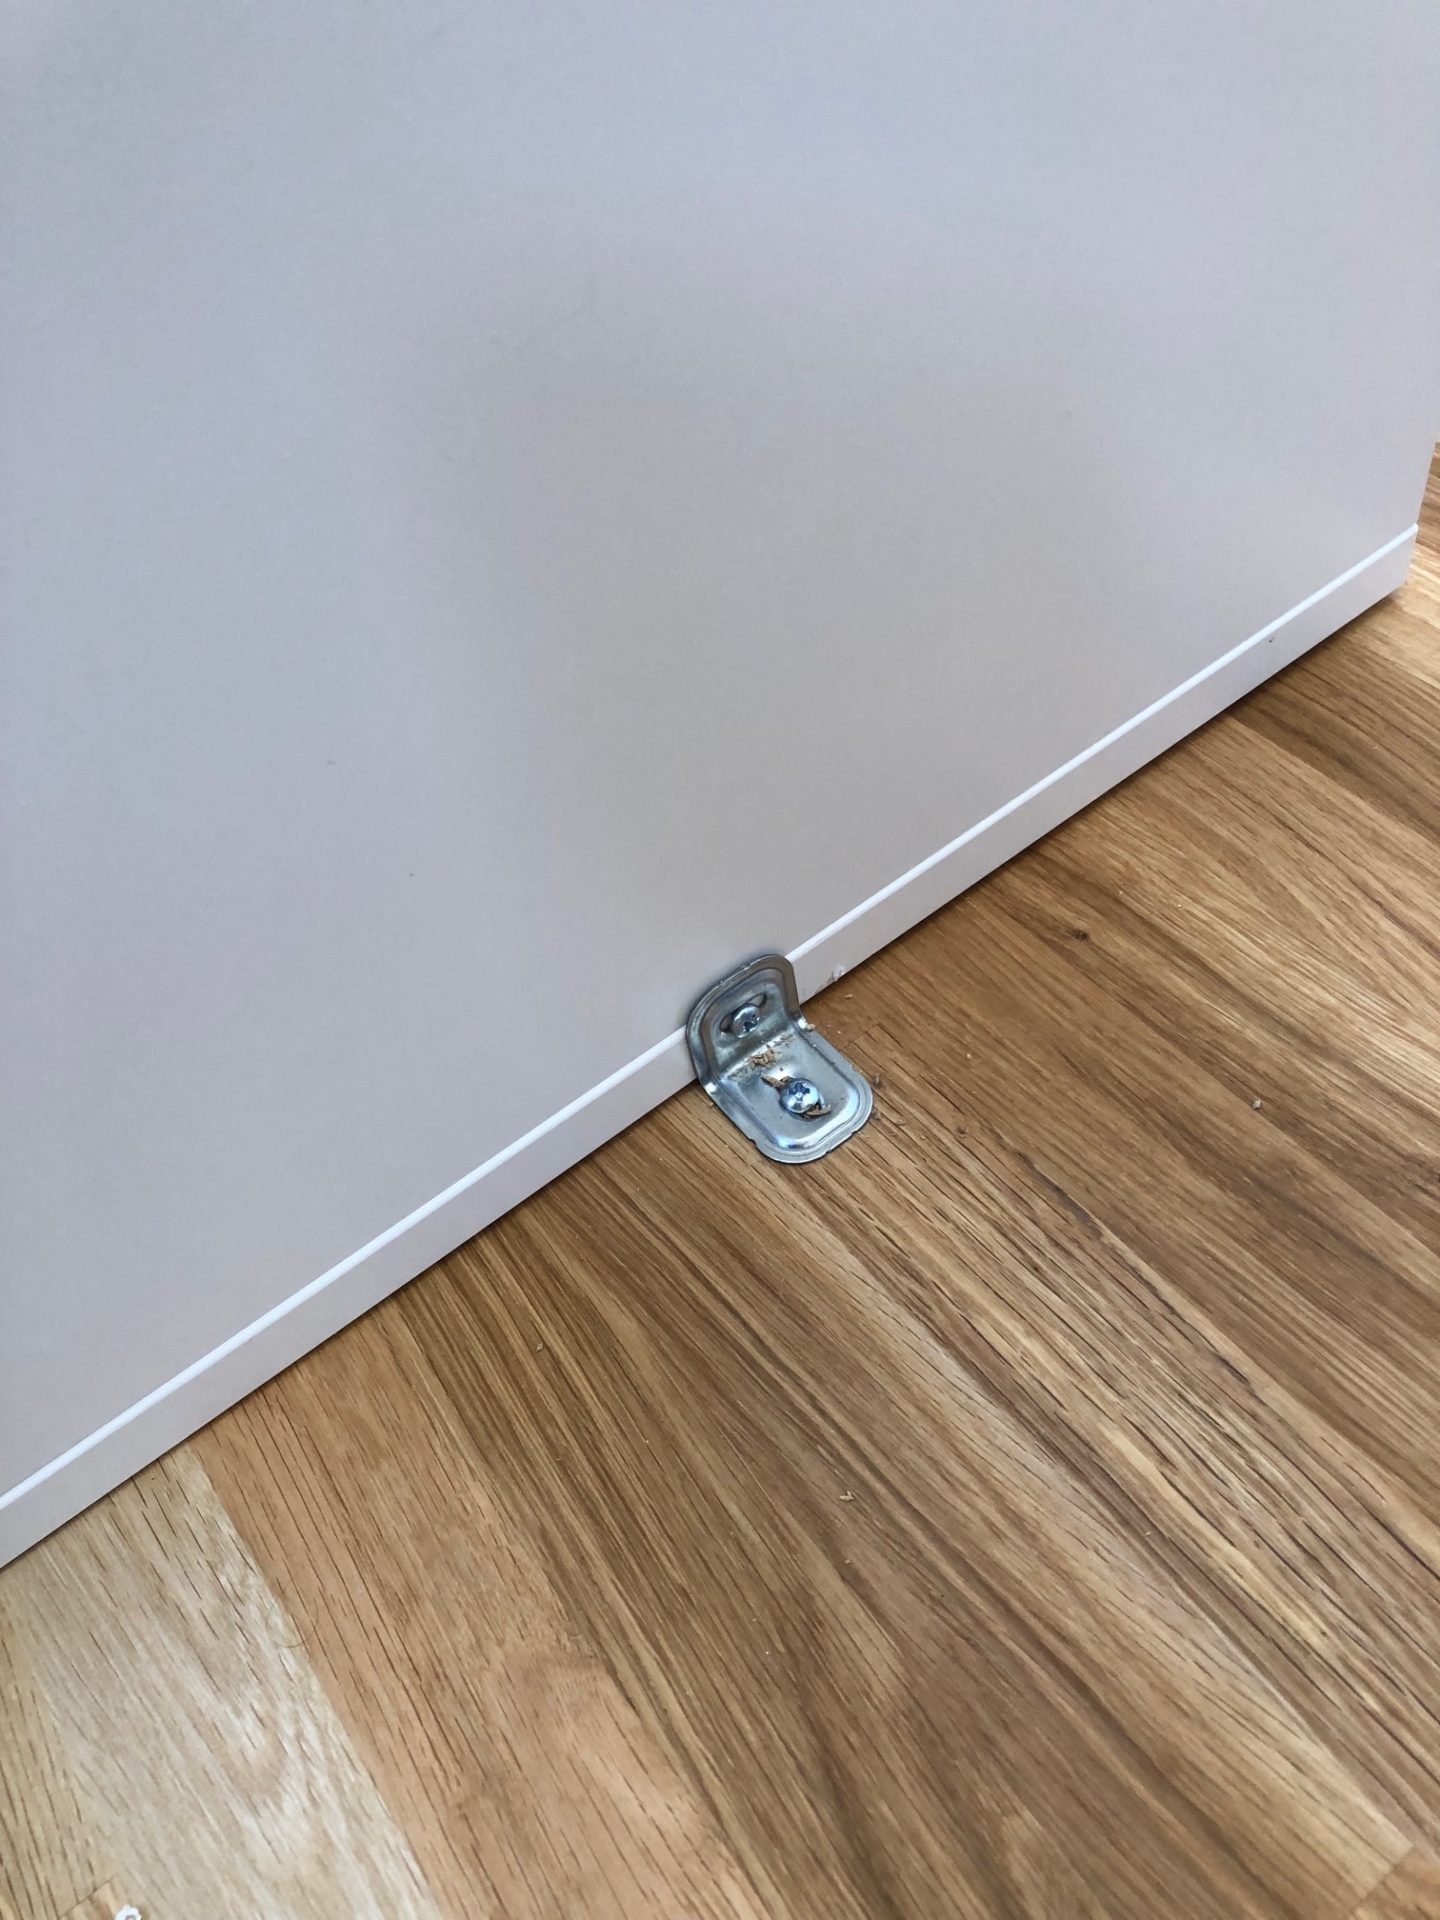
Use your drill to drill a hole in the wood, then change your drill head to a screwdriver to match your screws and attach the brackets to the wood worktop. From there, attach to the drawers. At this point you will need to lift your new desk to an upright position and put in place.
You’re done. It’s that simple!


Love it , thanks for sharing Hun x
Love this! Right up my street, I actually want to do something similar but with some reclaimed would, just for the funky effect. But the other half is arguing that we’ll pay more for used/ old wood! 🤦♀️😂