This was so much fun when the kids were little and incredibly easy to do.
I remember trying it with the kids when Edith was only a tiny baby, it was a grotty day, no possibility of going outside, and now the circumstances sound pretty much the same with the current pandemic. We’re all searching for things to do withe the kids now we can’t actually go anywhere, so I thought this would be a good one to try. If you have older kids, a tshirt would work just as well!
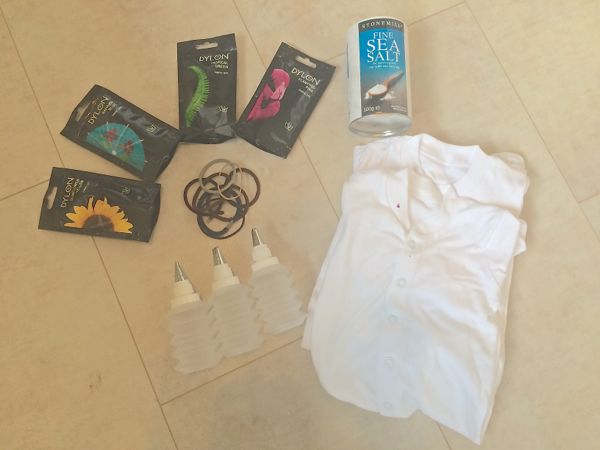
Here’s what you need:
- Packets of tie dye powder (as many as you desire, in whatever colour – we chose bright green, pink, yellow and blue, but you could go for more or less, or even dark colours)
- Salt
- Water
- White sleep suits (or whatever you choose to dye. I think the boys are wanting to make themselves something, and I’d quite like to try this swimsuit cover up I found on Pinterest)
- Bottles or cups and a syringe
- Rubber bands or hair bands
- A cloth you don’t mind destroying
- Here’s what to do:
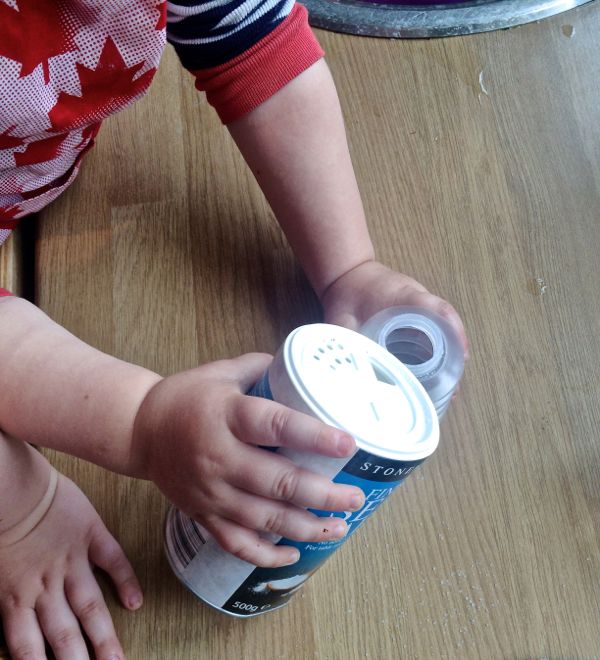
First thing is first, choose a surface that you can wipe and that won’t stain easily. Once you’ve done that put on clothes that you aren’t fussed about staining and grab some aprons for the kids. We have ‘craft clothes’ that don’t really fit the boys anymore so it doesn’t matter if they stain them – though they do look like cast members of ‘Oliver’ when we craft!
Once you guys are ready, take the dye and either follow the instructions on the packet if you are making a load of dye, or you can narrow down the ratio of how much dye to water and salt you require. We used about 150ml water, a tablespoon of dye and a teaspoon of salt. Follow the packet instructions and divide the ratio and you will be fine.
Once the dye is ready, add it to your bottles, or if you are using a cup with a syringe (I find the calpol syringes extremely useful for crafting so always keep a few in the craft box) transfer it to your chosen implement. Next, wipe up any dribbles and take out your sleep suits. Wet the sleep suits under a tap and wring out so they are damp but not dripping.
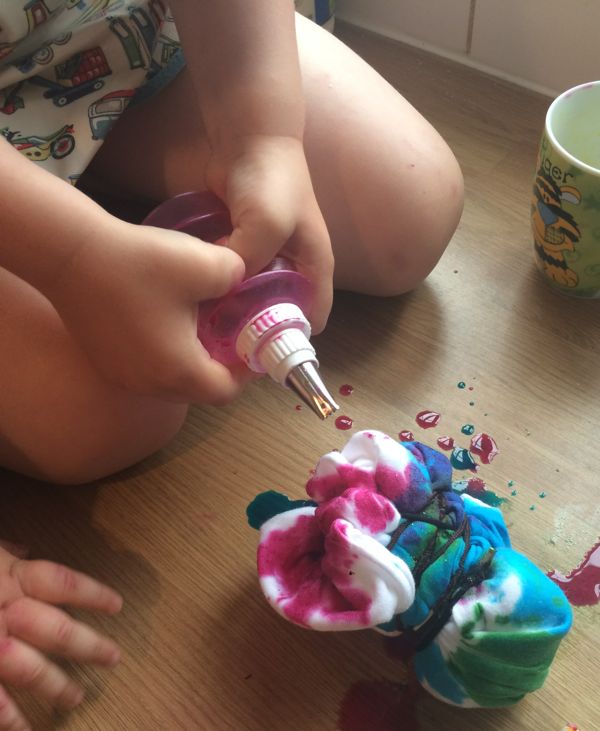
At this point I asked the boys how they wanted to fold their sleep suits. Toby chose to tie his bands around in a roll and Reuben chose to screw his into a ball and tie the bands in various places. Both will create a totally different effect and if you want you can have fun doing this tying the fabric in different ways to see how it comes out.
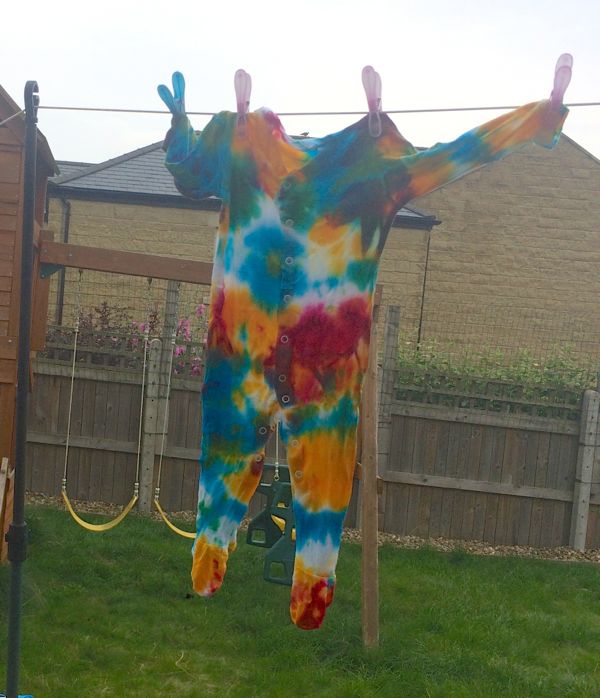
Apply your dye to the different sections of your fabric, making sure you soak all the way through. Then leave to dry out slightly, until it is only slightly damp. Remove the bands and hang out to dry – do not tumble dry because you will end up with dye stains all over your fabric.
Once dry enjoy your new fabric dyes (and remember to wash them alone with a colour catcher for at least the first three washes!
Harriet x


